It's more V-Neck tips this week.
Last week I explained how to use single fold bias binding to bind a V-neckline. The method worked well, but the downside were the stitches that needed to be added at the end to hold the V-fold in place. The following method doesn't require stitching the V in place, which is good!
1. Take your single fold bias binding press the folds open.
(I used 25mm single fold bias, however you could use any size up from this, depending on how much of the bias you would like to stick out around your neck line).

2. Press the binding open.

3. Then place the ends of your binding right sides together. Pin them together.

4. Place the pinned binding underneath the point of the V-neck to get the angle of the V. Draw this on to the binding.

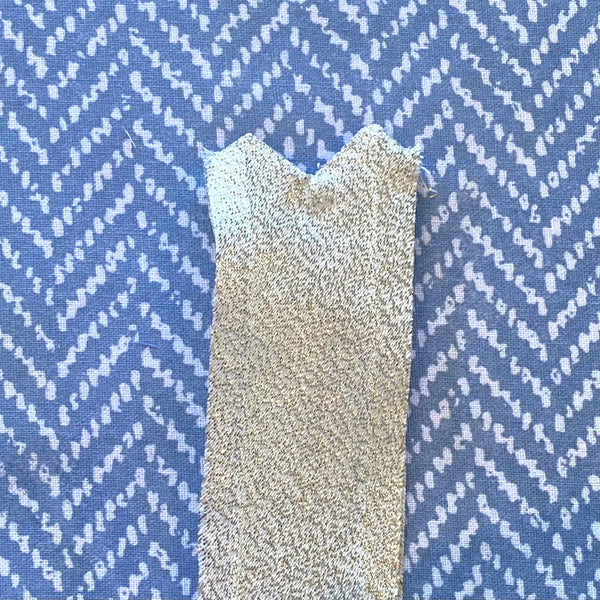
5. Finish drawing on your stitching line by extending the 'V' marking in to a 'W' shape, like so. The points of the 'W' should be on the fold lines.

6. Stitch this 'W' on to your binding. I used small stitches here, around 2mm.


8. Push the points of the 'W' out so it looks like this.
9. Bring the points together

10. And then flip the points so that they face the opposite direction so that the V is the right way up.

11. Give the binding a good press.

12. Place this carefully on your neckline. I like to use a little Sewline glue to hold everything in place and then pin.

13. Stitch in place.


1 comment
This worked SO WELL – thank you for the tutorial!!