I've been inspired to make a shirt for my husband. This happens about once every 1-2 years so I really should keep the momentum going:)
The ribbon on the collar stand on one of his ready to wear shirts go me thinking so I decided to cover how apply this for tips on Tuesday. The photos below are just a sample - as much as I love the floral Lady McElroy print, I know it wouldn't be my husbands cup of tea!
I'm going cover a few tips for sewing the actual collar part next week. This week I will just be focussing on adding the ribbon to the collar stand.
You'll need either Petersham, grosgrain or satin ribbon, 6mm to 1.25cm wide.
Here's how:
1. Cut out your collar and collar stand.
2. Cut out two more of lightweight cotton voile (or similar) or interfacing, whichever you prefer to use.

3. If using lightweight cotton machine tack these together to the wrong side or apply fusible interfacing to the wrong side of both collar stand pieces.


4. Take one collar stand piece. Use a marking pen to mark the stitching line. The seam allowance on my pattern is 1.5cm so I measured and marked a line 1.5cm from the bottom of the collar stand.
I wanted my ribbon to be right at the bottom of the collar stand, where it meets the main shirt. If you would like your ribbon in a different place on the collar stand you will need to measure from the stitching line at the bottom of the collar stand and mark another line where you would like to place your ribbon.

5. Cut a length of ribbon slightly longer than the collar stand.

6. Stick the ribbon on the line that you marked in step 5. If you ribbon is right at the bottom of the collar stand then place your ribbon slightly higher than the marked stitching line. I used Sewline glue to keep this in place.

7. Top stitch the ribbon in place.

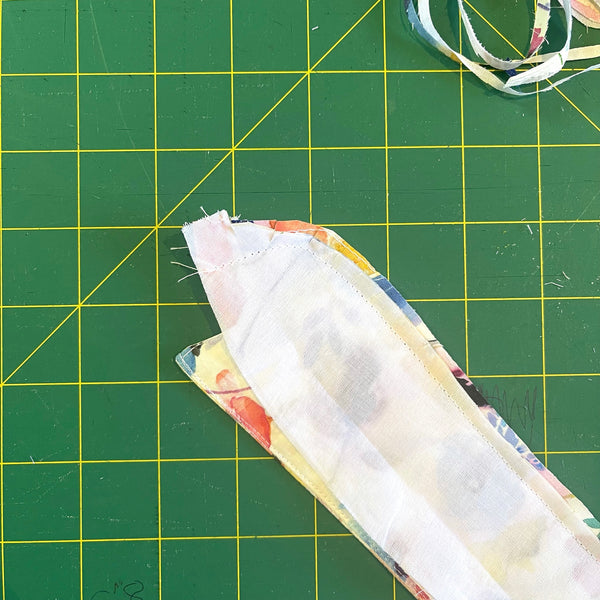
8. Whilst lining up the raw edges take your collar pieces and sandwich together, in this order:
- Collar stand piece
- Previously made collar
- The second collar stand piece
The stand pieces should be right sides together with collar in the middle.

9. I like to stitch these layers together from the centre of the collar stand out. So you will need to do this twice to sew both sides. Reduce the stitch length around the curve of the collar stand. You might also like to mark the stitching line on the curve or the collar stand so that they are exactly symmetrical when finished.

10. Trim, grade and turn the collar stand to the right side.
11. Give it a good press.


This is now ready to attach to the main part of the shirt. Use the stitching line just underneath the ribbon as a guide when attaching the stand to the shirt so that it looks even all the way around the collar stand.